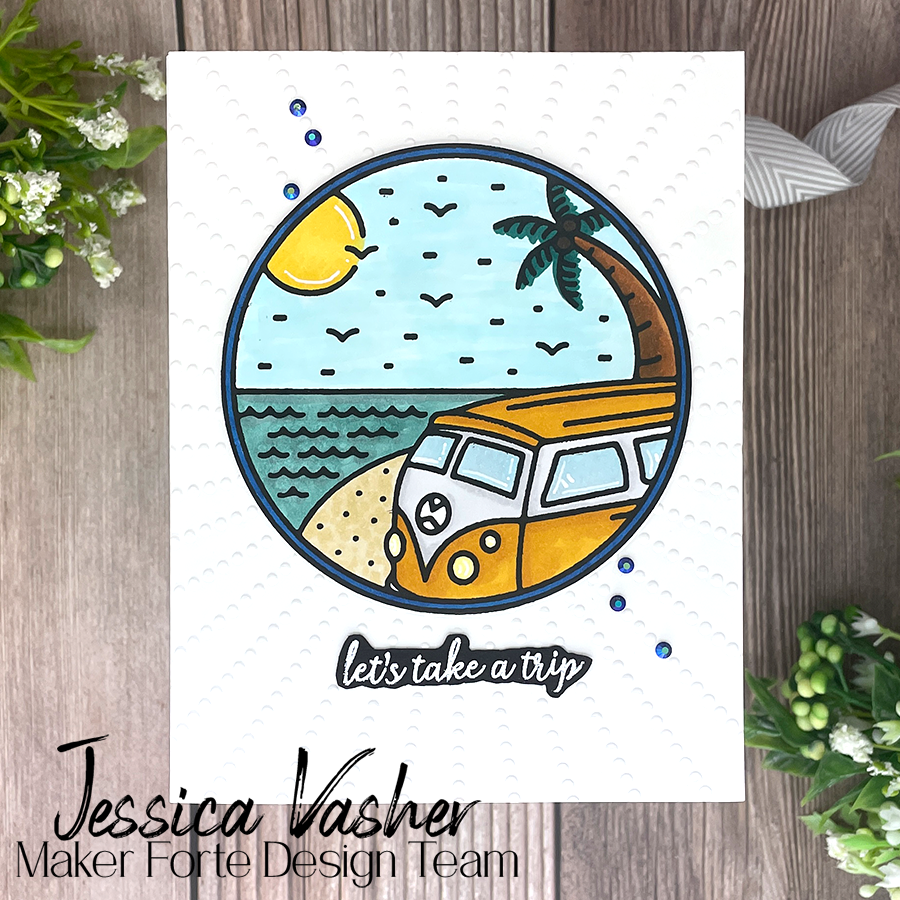
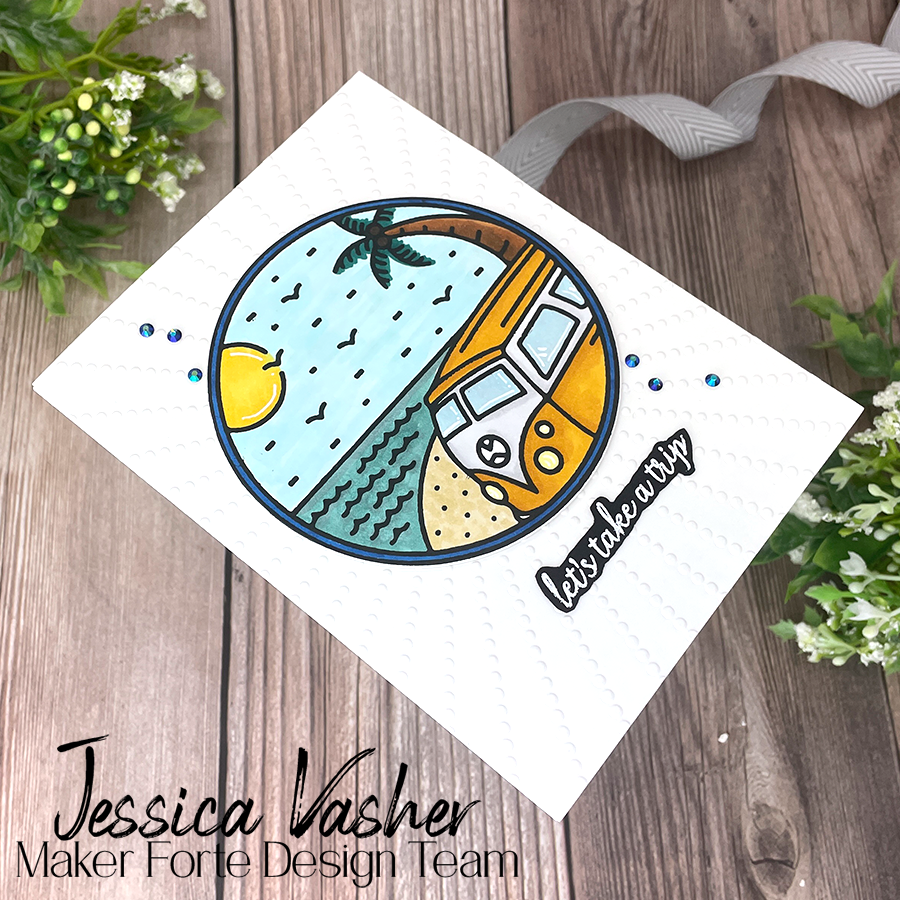
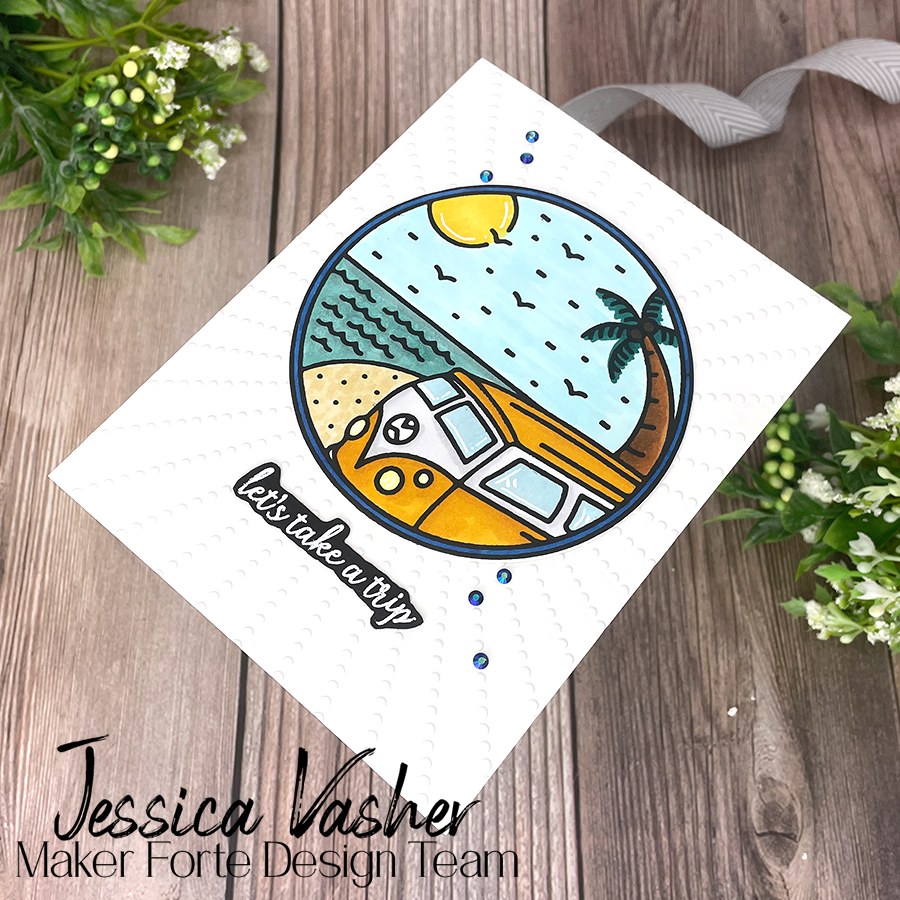
Hi Craft friends! Today, I have a card for you with some easy clean and simple (CAS) alcohol marker coloring. I love going camping, so of course this stamp set caught my interest right away! And I have a family member that has a VW bus just like this, so I figured I would make her this lovely card.
Here is a list of supplies I used to create this card…
- Stamps
- Inks:
- Color Hive Ink Pad – Eclipse Black (alcohol marker safe)
- Color Hive Ink Pad – Clear – Embossing Glue
- Markers
- Alcohol Markers in various colors
- Pretties
- Basics
I start by inking up a stamp from the Adventure Bottled set with the Color Hive Ink pad in Eclipse Black ink. This ink is awesome for alcohol markers. I experienced a beautiful rich black stamp as well as NO SMEARING! For those who use alcohol markers, smearing can be a real pain. But not with this ink. It’s so crisp and dark! I did prime my stamp since it was new using the Stamp Conditioner (which smells amazing!). I set it aside and moved onto creating the embossed panel.
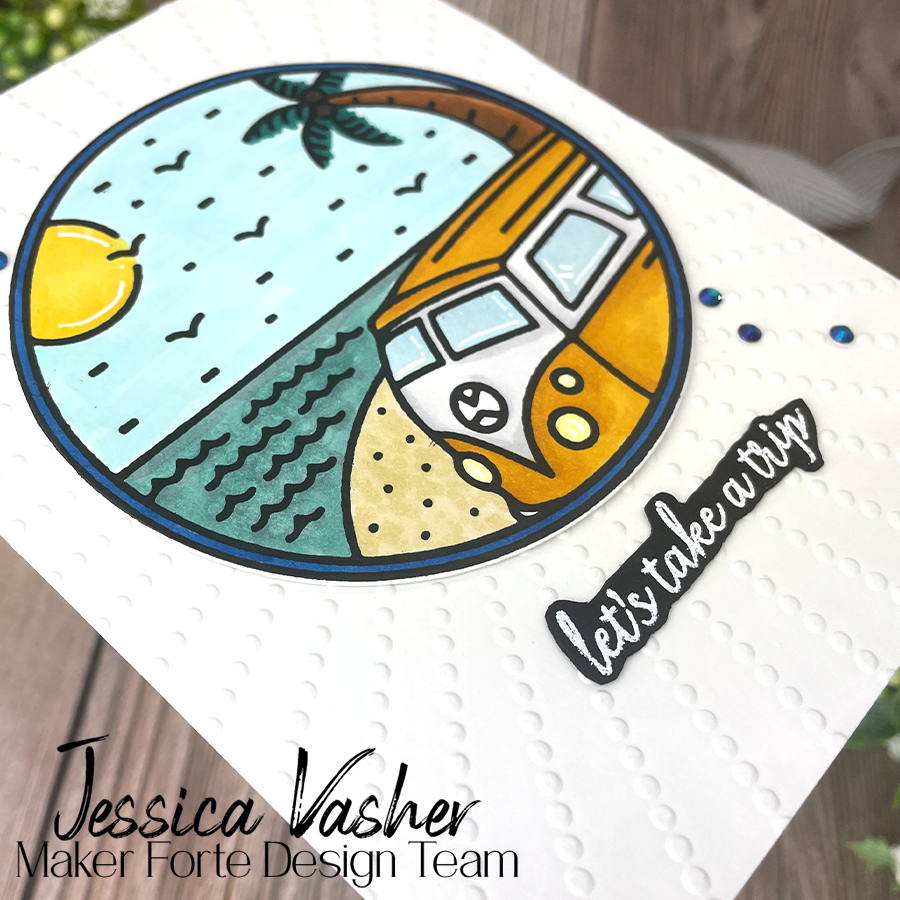
I pulled an embossing folder from my stash that gives a sunray bust of texture from the middle. I thought this would be a nice touch to the circle design of this stamp. When I was done, I used my tape runner to adhere it to my card base.
In order to ensure I got the best results, I went a head and heat set my stamped image. After a couple minutes, I went to work coloring the image using a budget alcohol marker. When coloring, I only us two colors to achieve my blending. I start with the lightest color, then add the darker, and then go over everything with the lighter color again. I have had great success with this and it makes coloring really easy.
Once I was done coloring, I but the image out using a coordinating circle die. I added it to my panel using foam tape to pop it up and add dimension. I finished the card off with some Crown Jewel Gems in Windsor Blue and added a white embossed sentiment from the set!


