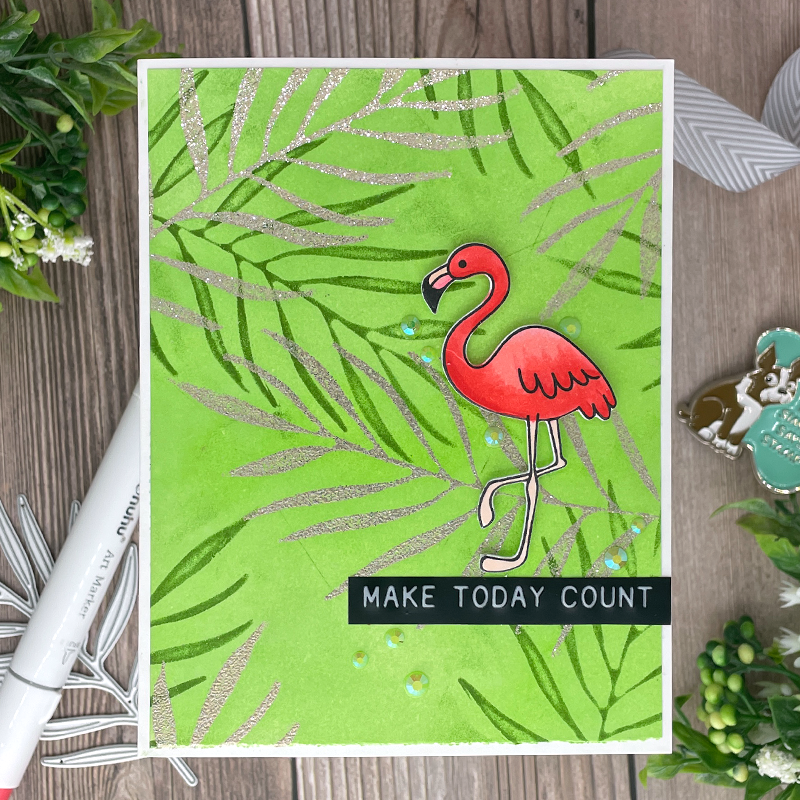
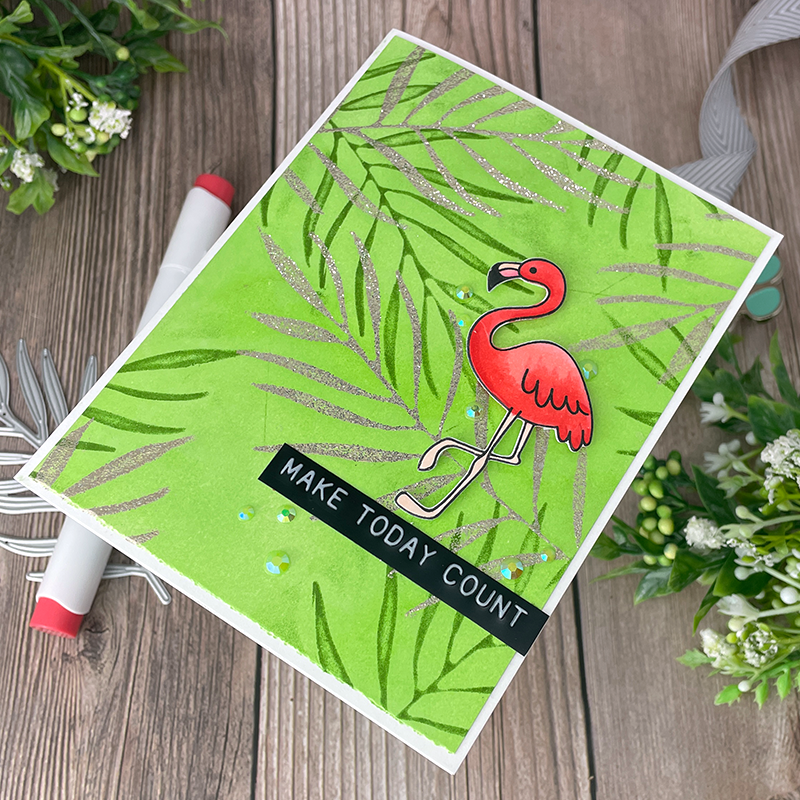
Hi Crafty Friends! Today I have a card for you using STAMPING FOAM! Which, you totally need this in your craft room. For this card, I did something a little different than I have seen. I stacked die cut negatives and then pressed my foam into them, making a stamp. I then used that to stamp a similar image onto my background. I used Simon Says Stamp products to make this card included the new Etched Frond Die and Pawsitively Saturated Inks from the Handmade Holiday Release.
Here is a list of supplies I used on this card…
- Simon Says Stamp – Etched Frond Die
- Simon Says Stamp – Blending Brushes
- Simon Says Stamp Pawsitively Saturated Ink Set #2
- Simon Says Stamp Pawsitively Saturated Ink – Field
- Simon Says Stamp Pawsitively Saturated Ink – Fairway
- Simon Says Stamp FLAMINGO Wafer Die
- Simon Says Stamp – Older no longer is stock set
- Simon Hurley Stamping Foam
- Wow Embossing Powder – Platinum Sparkle
- Lime Jewels
- Ohuhu Alcohol Markers
- Simon Says Stamp – Big Momma foam Tape
- Simon Says Stamp Dot Tape Roller
- Gina K Connect Glue
- Simon Says Stamp Mega Thick 130 lb Card stock
- Neenah Solar White 80 lb Card stock
- Neenah Classic Crest 110 lb card stock – card base
I started by cutting an A2 panel out of the Mega Thick 130 lb Card stock. I then cut out the Etched Frond Die three times out of Neenh Solar White 80 Lb. Once I had it cut out, I glued the three panels together. This was a little tricky as this die cut is so fine. But I eventually got it lined up good.
I prepped my foam by adding a stamping block to the back on it using some Simon Says Stamp Dot Tape Roller to adhere it temporarily. This was a tip from Simon to give you the ability to put even pressure on the foam when using it. I then went to town heating my stamping foam. I used my heat embossing gun and heated it on high for 15- 20 seconds. When it was warm, I turned it over onto my die cuts and pressed really well to ensure I received a good impression. When I pulled the foam off I was amazed at how deep the impression was!
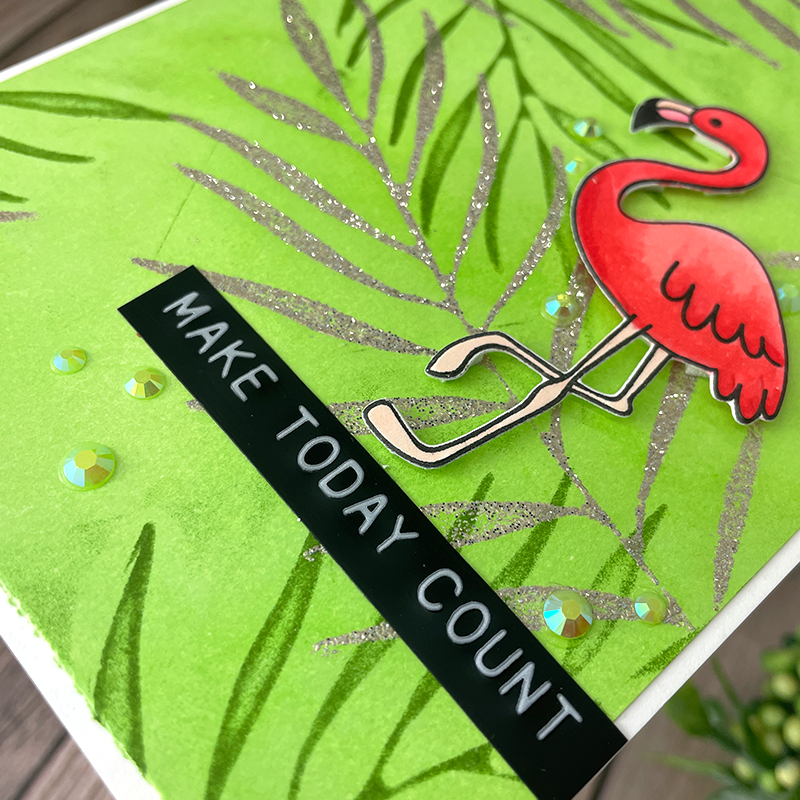
I then got to work, using an antistatic tool on my paper and then slightly swiping the inkpad over the fronds. This was a labor of love… The first couple stamps there was not much extra powder that was sticking when I was sprinkling the embossing powder over it, but eventually is started getting worse as the versamark ink gathered in between the frond leaves. Something that helped was whipping the block in-between and tapping my antistatic powder over it before swiping the versmark on. But regardless, I had to use a brush to knock away a decent amount of powder on my panel. But it was SO easy and so worth it!
Once I had the Platinum Sparkle fronds where I wanted them, I heat set them. I then grabbed a Simon Says Stamp – Blending Brushes and the color Fairway and went to work blending a solid color over the background. Once I had that to perfection, I grabbed the color Field and the stamping foam and laid those randomly on my panel. Using ink gave a better result, the only thin you have to be careful with is the edges as sometimes you can get straight lines from that (don’t look too close you’ll see a few on mine!(
I stamped the Flamingo using an older Simon Say Stamp set and used a coordinating Die to cut it out. I colored it using various colors of Ohuhu Markers. I then assembled the card by popping the flamingo up, adding a cool sentiment from a past kit (its a sticker!) and some Lime Jewels. I really love how versatile this stamping foam is and this is NOT the last you will see of it!


