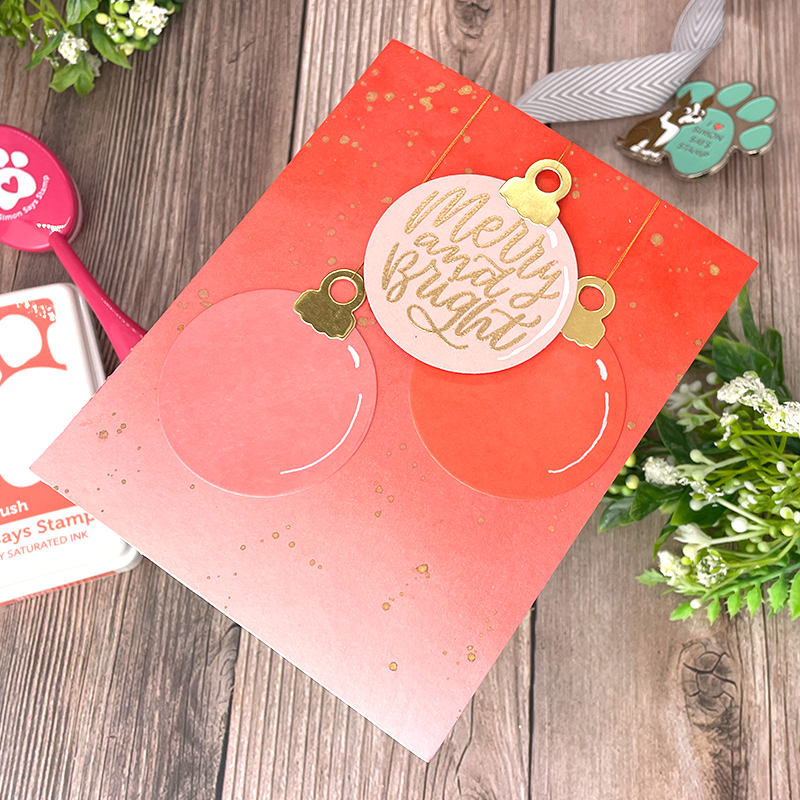
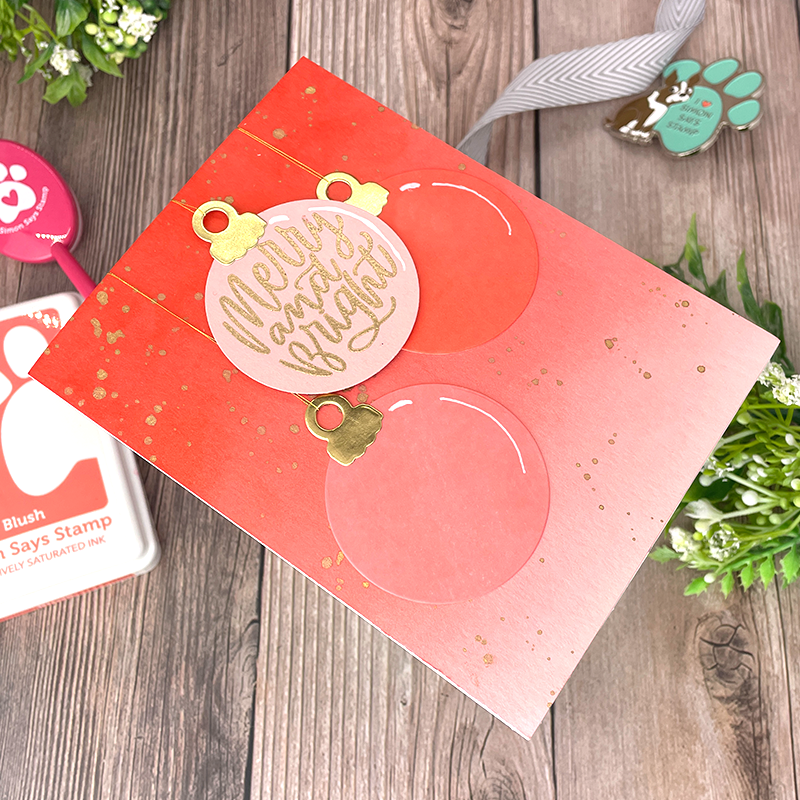
Hello crafty friends! I have another beautiful holiday card for you today using some more products from Simon Says Stamp! Back in 2019, I had made a similar card using different products and it was one of my all time favorite cards I made that year. When I was looking at the new
Here is a list of supplies I used on this card…
- Simon Says Stamps – HOLIDAY MESSAGES ORNAMENT set (stamps and die)
- Simon Says Stamp Pawsitively Saturated Ink – Pucker
- Simon Says Stamp Pawsitively Saturated Ink – Blush
- Simon Says Stamp Pawsitively Saturated Ink – Full Set
- Simon Says Stamp Blending Brushes – Set
- Simon Says Stamp Antique Gold Embossing Powder
- Simon Says Stamp Dot Tape Roller
- Simon Says Stamp – Big Momma foam Tape
- Light Pink Cardstock – Simon Says Stamp Similar – Cotton Candy
- Gold Cardstock – Simon Says Stamp Similar – Matte Gold
- Ganzi Tambi Watercolor set (Currently out of stock) – Similar effect with the Finetex Mica Palette
- Sakura CLASSIC WHITE Bold Line 10 Gelly Roll Pen
- Gold thread – Similar in stock Altenew METALLIC THREAD Set
- Gina K Connect Glue
- Versamark Watermark Emboss Ink
- Neenah Solar White 80 lb Card stock
- Neenah Classic Crest 110 lb card stock – card base
I started off by cutting a light pink cardstock (SSS similar) into an A2 sized panel. I then grabbed my Pawsitively Saturated Ink (PSI) in Pucker and Blush and my SSS Blending brush in Pink. These inks blend so awesome, even on this colored cardstock. I started with Pucker at the top and blended with a light hand until I had a nice gradient about 3/4 of the way down. I then went back to the top 1/4 and started heavily applying the color and slowly dragging it down. When I had a nice contrast, I grabbed the Blush and started approx. 1/4 of the way down and began adding that color in. As you can see, I only left about 1/8 of the original light pink paper showing at the bottom. I blended until my heart was content!
I added some water to my gold water color and let it set while I die cut the ornaments out. I wanted to match the ink as best as I could, so I started by swiping each ink (Pucker and Blush) onto a sheet of white cardstock. These inks lay so beautifully when you swipe them on paper! I let them dry while I cut out an ornament out of the same colored pink paper that we did for the panel. Then I cut out the ornament from the ink swiped cardstock giving me three ornaments.
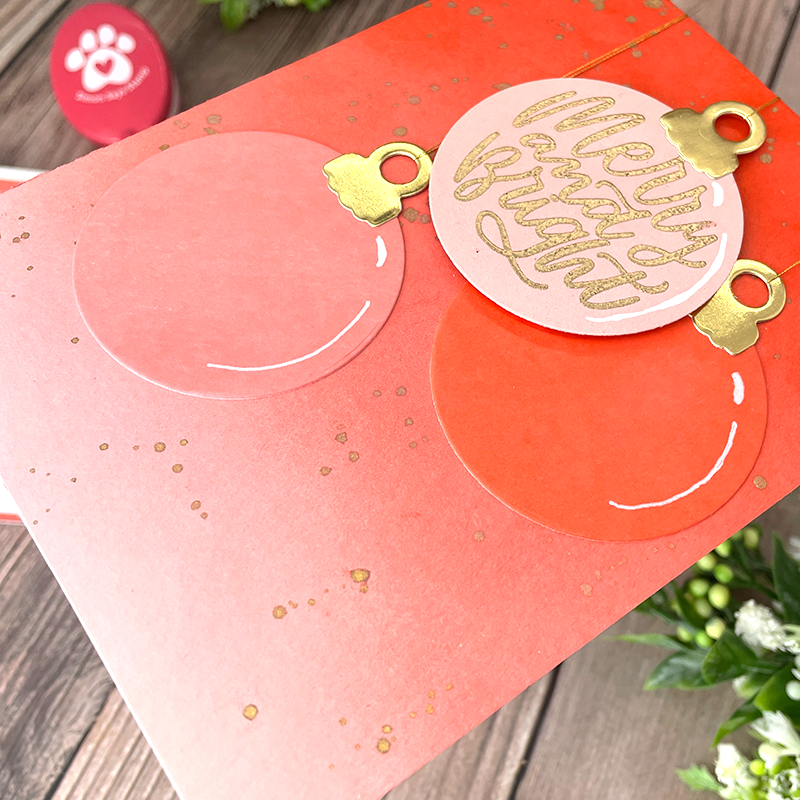
Once I had them cut, I went back to my gold watercolor and made sure I had a nice thick consistency (similar to whipping cream or half and half) and then proceeded to flick the gold onto the panel.
I grabbed the coordinating stamp set Holiday Messages Ornament Set and stamped the greeting on the pink ornament using Versamark Ink. I used the SSS Antique Gold Embossing powder to set the greeting. Once I had the ornaments cut out, I used gold paper and cut out the topper and glued them on. Then I added some Gold thread and arranged the ornaments where I wanted, making sure I popped up the light pink one. I added a quick highlight using my Sakura CLASSIC WHITE Bold Line 10 Gelly Roll Pen and viola! Card complete. The original card that inspired this card can be found here!
Let me know what you think of this bright non traditional colored holiday card in a comment below!


