- Paper
- Dies
- Stamps
- Ink
- Sentiment Strips
- Pretties
- Tools
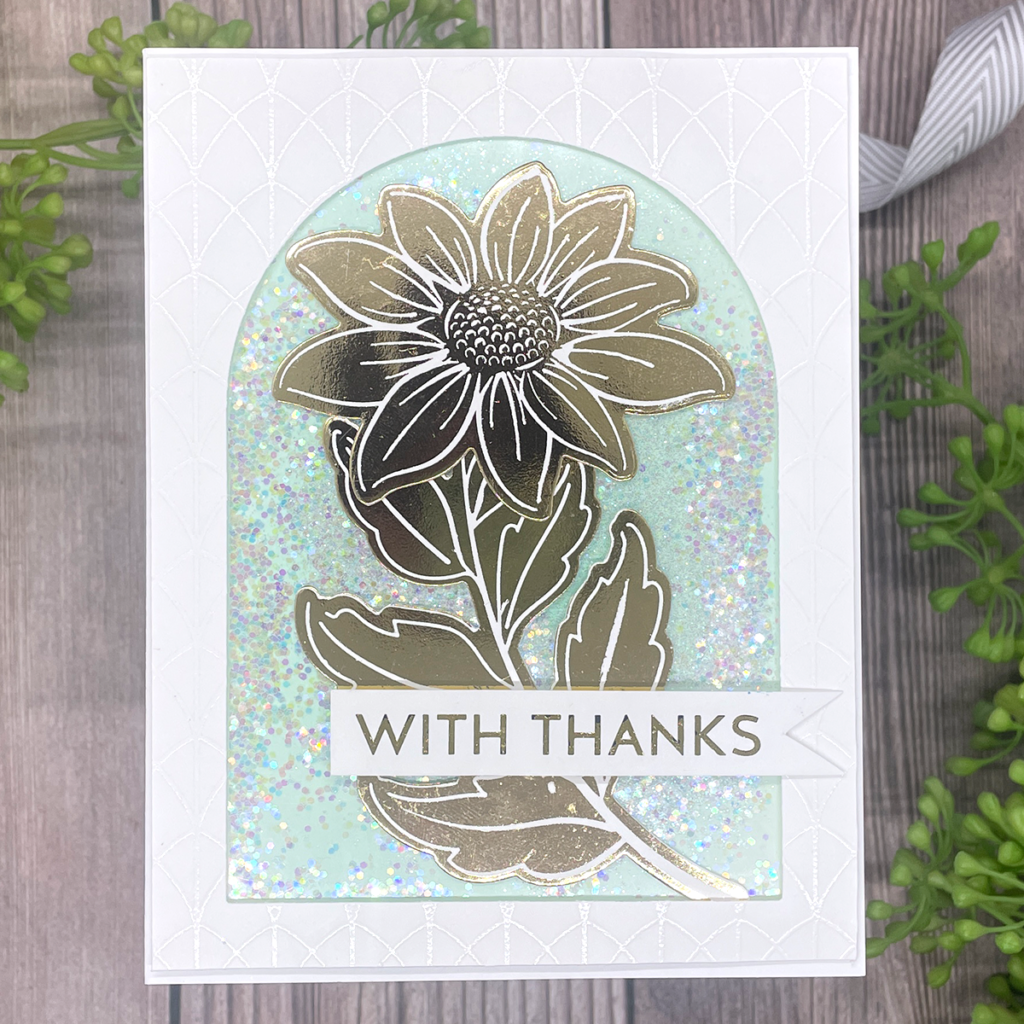
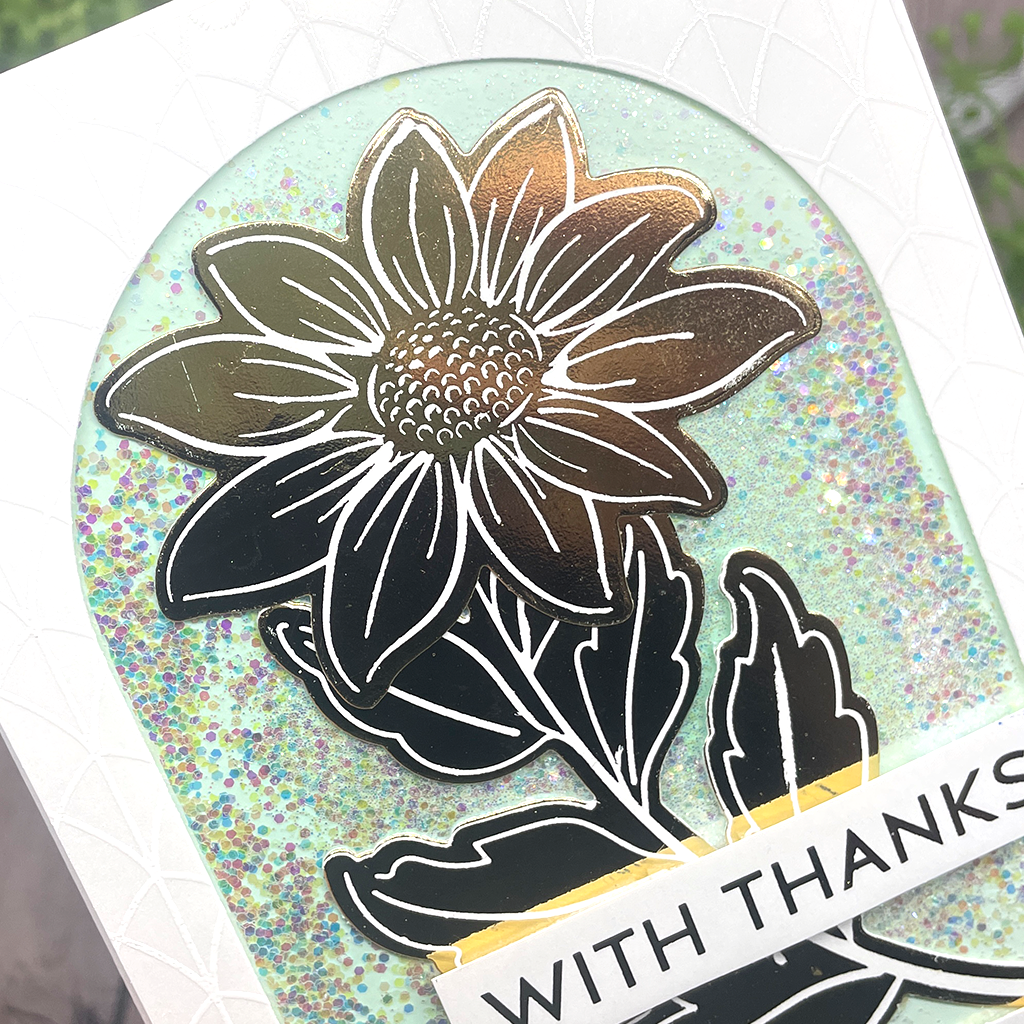
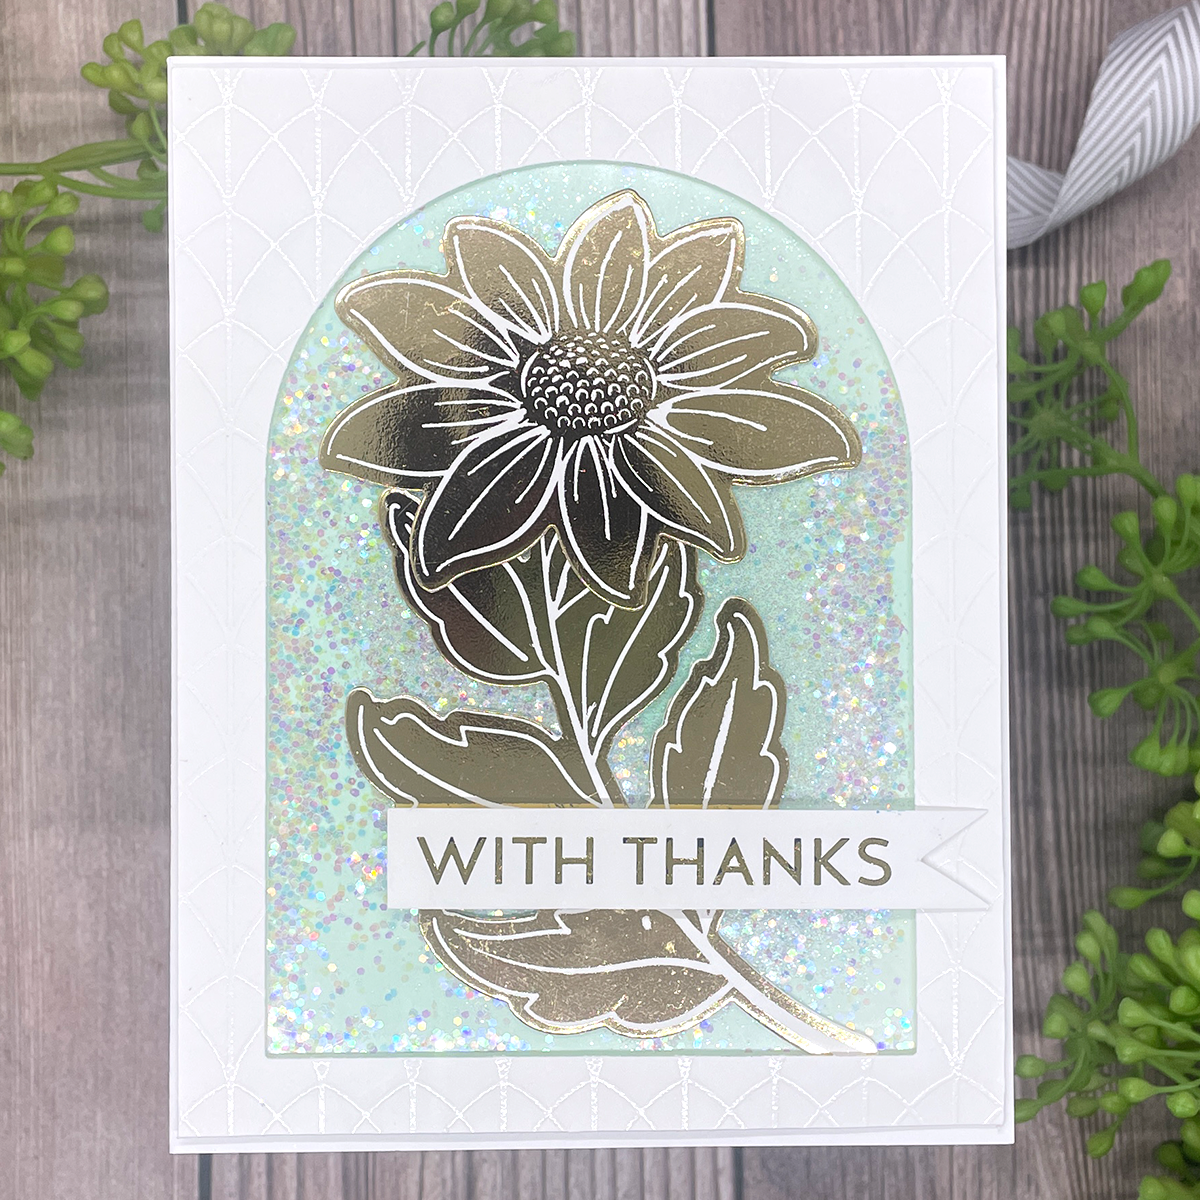
This card is a product of another card. The cool thing about hot foiling, is that you can use the leftover negative from your hot plates to create a different image when you foil it! And that is what I did here. I used the foil left over from both the Sketched Daisy and Sketched Branches hot foils. In order to do this, you have to have a solid hot foil plate (I used the Pink Fresh Studio – Solid Hot Foil Plate) You set your hot foil system up the same way, but instead of using the original die, you just use the solid plate and the foil that was left over. I added these left overs to a piece of Neenah Classic Crest 80 lb card stock and then re foiled them. If available (which for both of these there is) use the coordinating dies to cut the images out and its magical that you not have TWO images from one product. What a great way to limit waste! I set these aside and went to work on making my shaker.
I grabbed another panel of Neenah Classic Crest 80 lb card stock and my Arches Background Stamp. I stamped the image using Simon Says Stamp – Embossing Ink and then coated it with Simon Says Stamp – White Embossing Powder. I heat set the and then used my Nested Dome Arches Die to cut out the middle. This is where I was going to create my shaker.
Grabbing my card base, I used the background panel as a guide, and drew a few soft lines onto the base to give me a border of where I needed to create the ink blending. I grabbed my softest blue out of the Simon Says Stamp Original Ink line and quickly blended up a soft color.
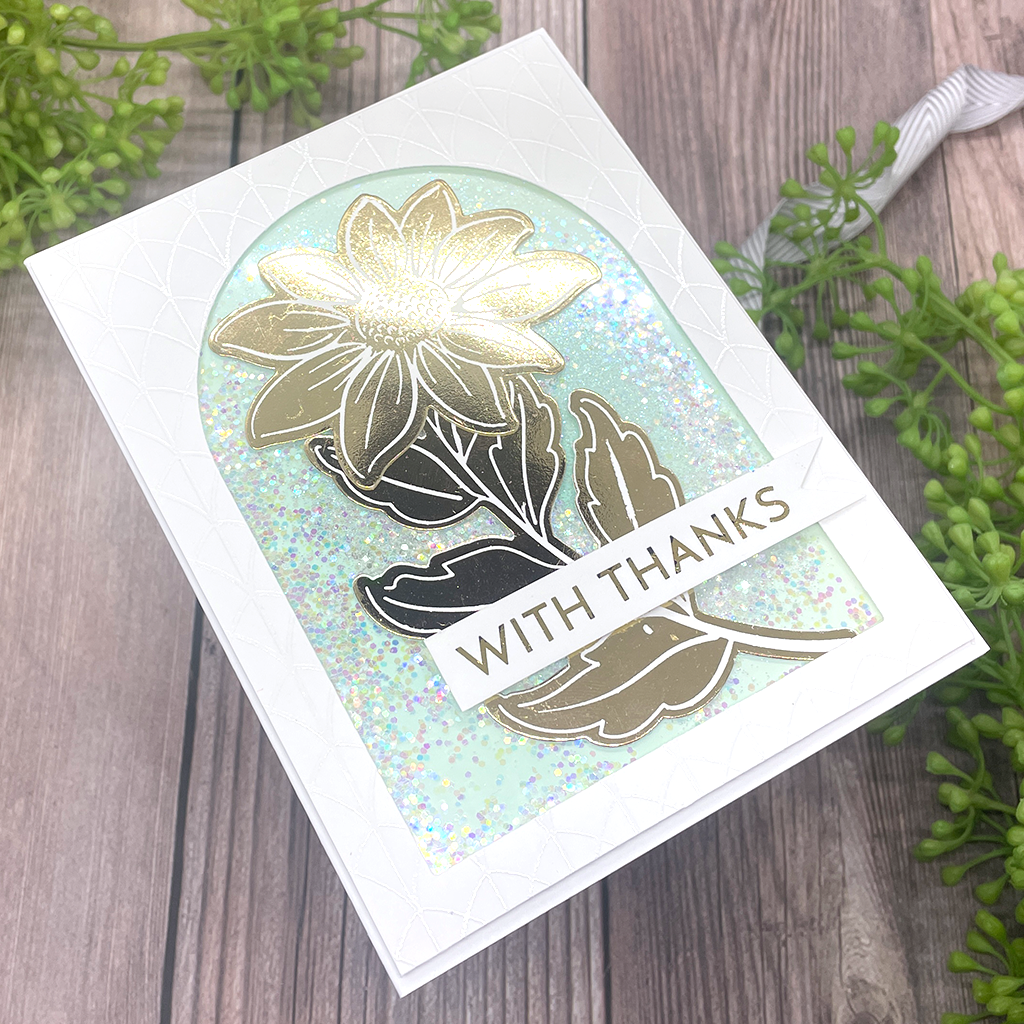
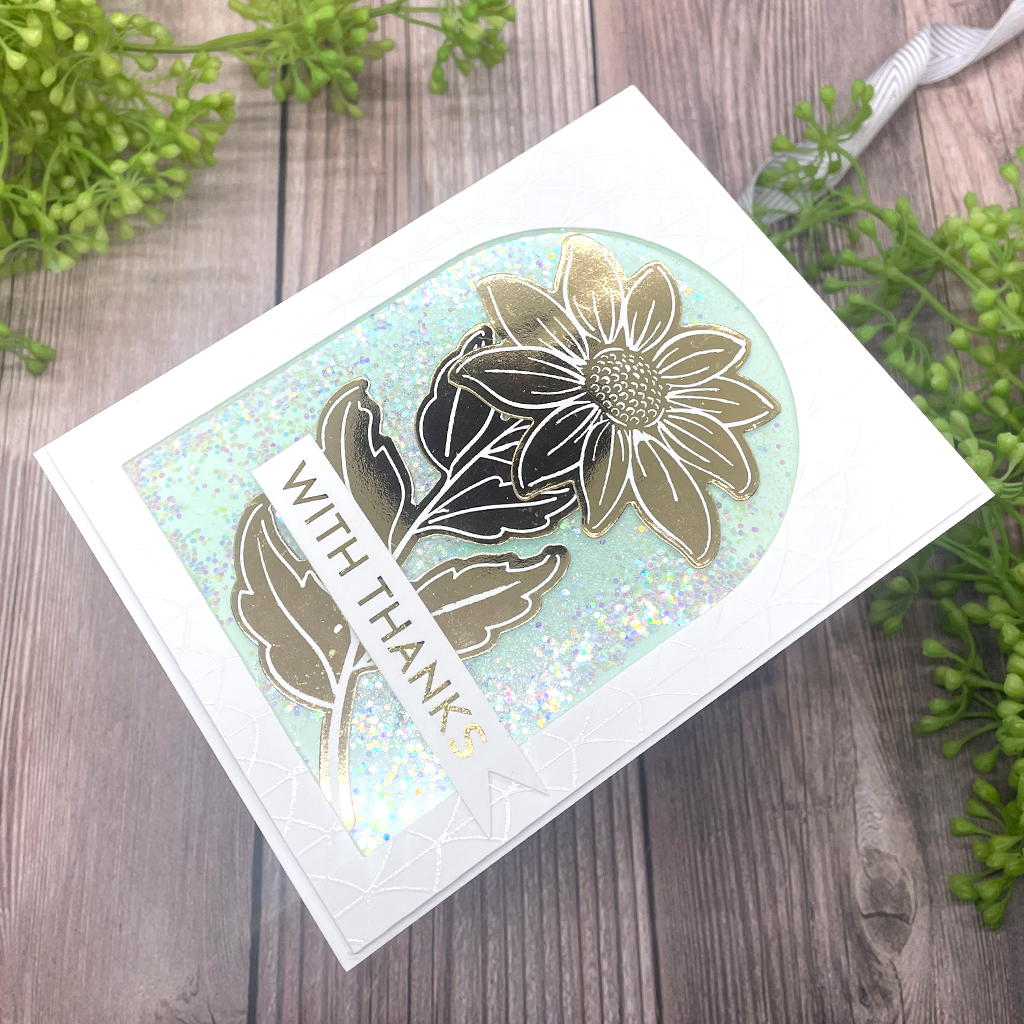
Once I had the color I dreamed, I got to work creating my shaker. I new I wanted the florals outside of the shaker, so I grabbed the panel and some red tape, and outlined the back of the arch, making sure I was as close to the edge without showing the tape as possible. I used Red Tape because its EXTRA strong and works well for acetate. I added the acetate and then began building my shaker window. Because I knew I was just using glitters, I only made a shallow shaker using Simon Says Stamp – Big Momma foam Tape. This isn’t the thickest foam, so when you want larger items in your shaker, you need to double or triple it up. So once I had the foam tape all over the background, I grabbed my care base and started the very hard process of lining it up. I had trimmed the front panel just a smidge, which can be hard to align perfectly (as you can see!). I grabbed a little spoon and placed the glitter in the middle of my ink blend, careful not to breath, and very carefully added the shaker panel. Once I had it one, I breathed a big sigh of relief.
I then added the gold foiled images using Gina K connect Glue, added a sentiment and viola! I don’t make many shaker cards because I am anxious about them, but I am always so happy when I finish one!
