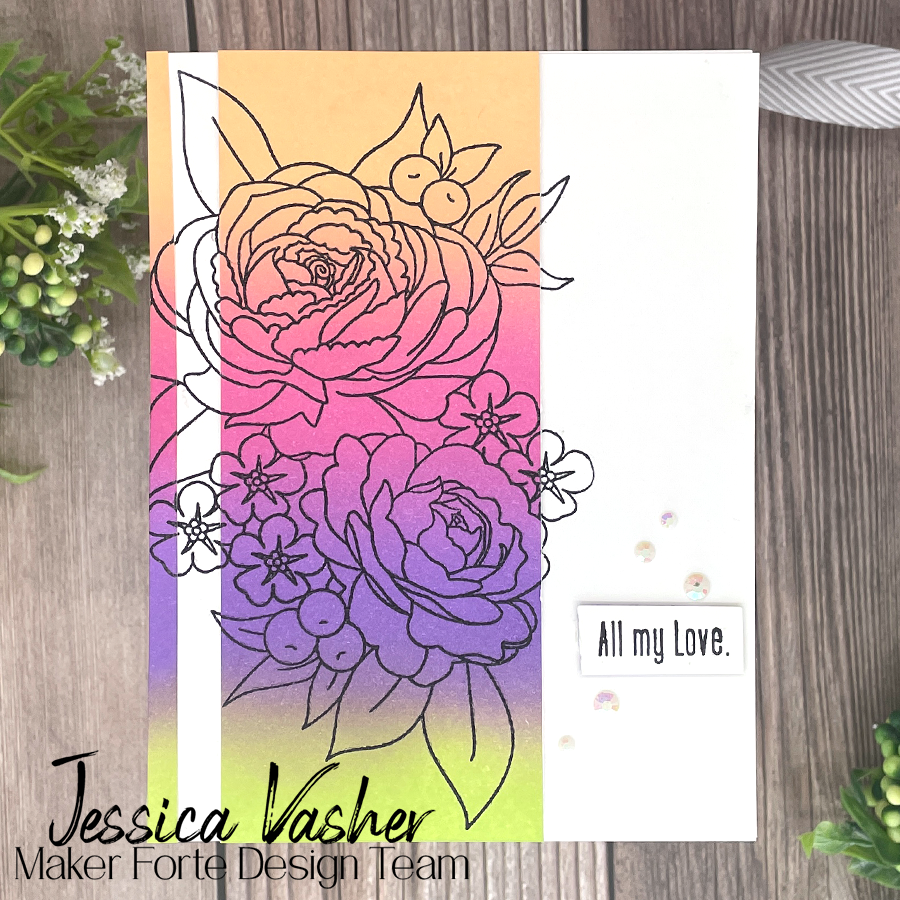
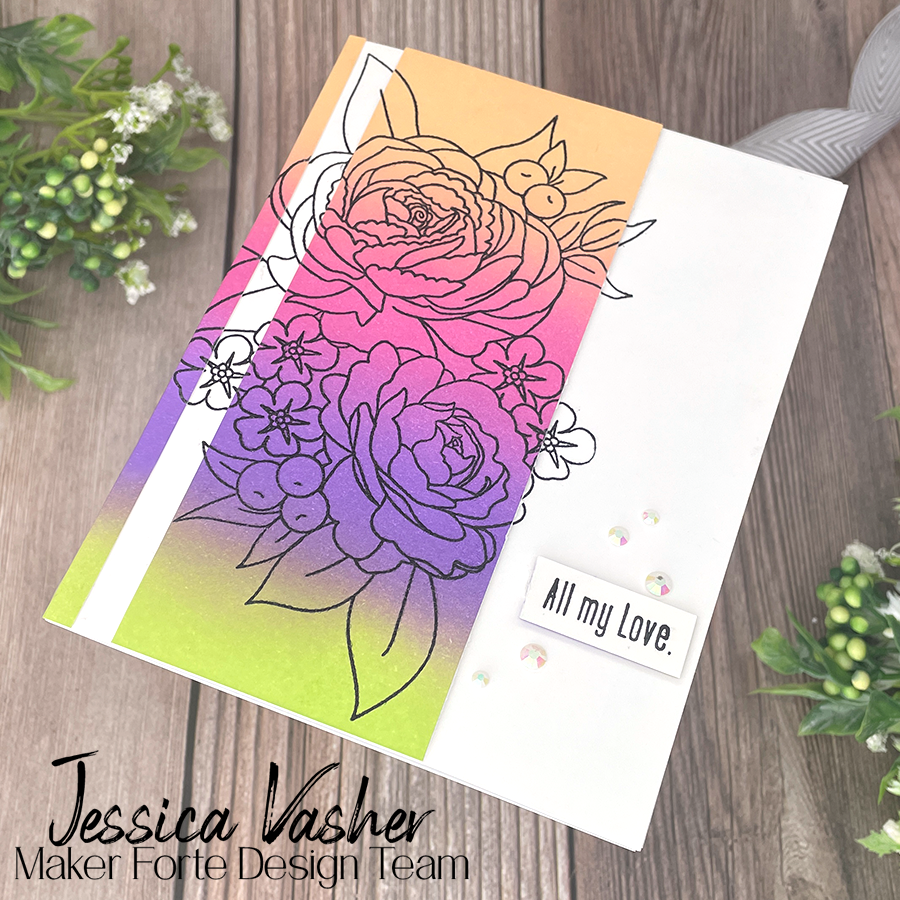
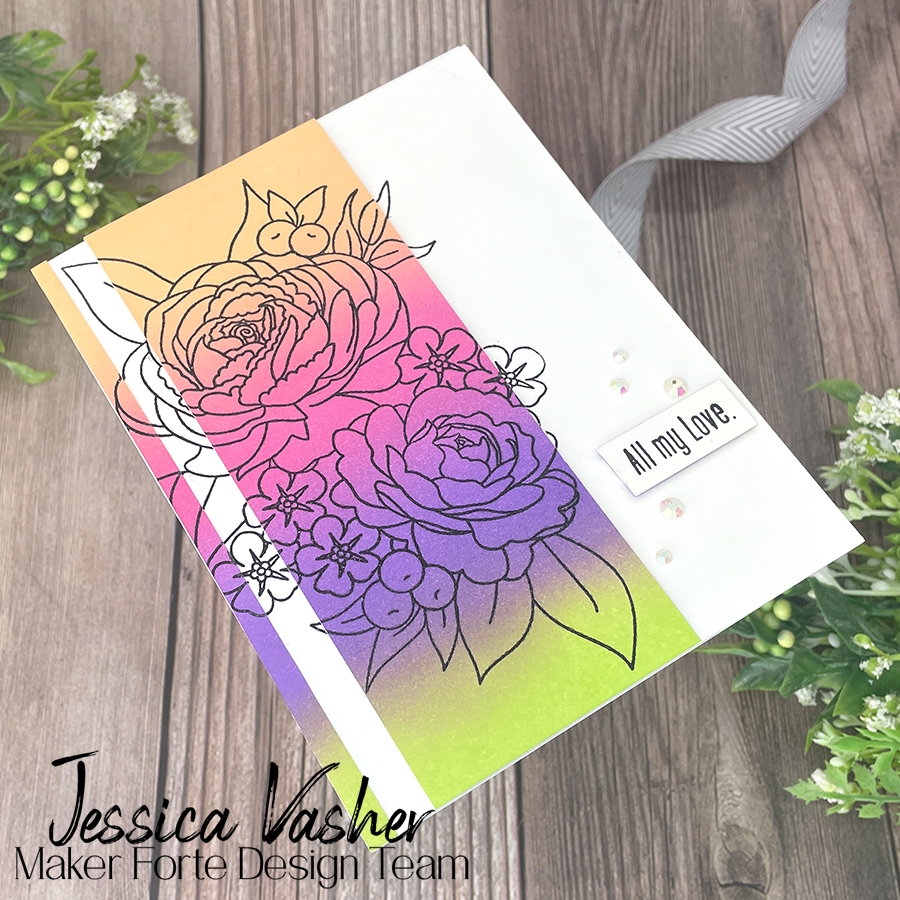
Hello crafty friends! I have a beautiful card for you today using this beautiful floral stamp from the Grateful to You set. One of my favorite techniques for large florals is a good ink blend with a embossed image on top! So lets get into how I created this card!
- Stamp
- Inks:
- Color Hive Ink Pad – Eclipse Black (alcohol marker safe)
- Distress Ink Colors
- Dried Marigold
- Picked Raspberries
- Wilted Violet
- Twisted Citron
- Pretties
- White Jewels
- Basics
- White card stock panel – stamping
- A2 SIDE FOLD – Perfect Fold, Scored A2 Side Fold Card Base
- Foam tape
- Score Board
- Clear Embossing Powder
I grabbed a panel of my favorite ink blending paper. This requires a smooth surface to ensure that the ink sits on top a bit before drying into the paper. It allows the ink to blend and get this really airy blend between them. For this card, I used my regular Distress Inks which I often forget about since the Oxides debuted. And every time I return to them I always forget how much I enjoy working with them!
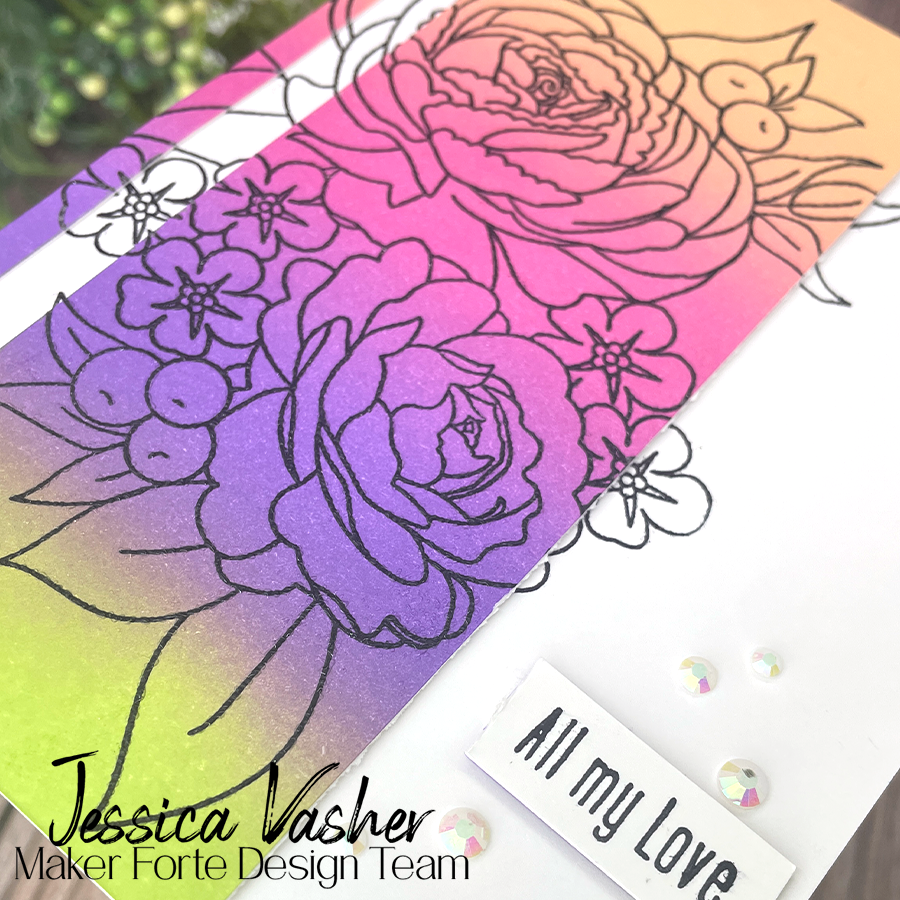
For this card, I used Dried Marigold, Picked Raspberries, Wilted Violet and everyone’s favorite color Twisted Citron. I got to work starting with Dried Marigold and then continuing through until I got a nice blend between the colors. When I got to Twisted Citron, I really tried to blend as light as I could, so I didn’t over blend and get a brown color. I blended a little more than I wanted but I am happy with the color I achieved.
Once the blend was completed, I hit it with my heat tool to ensure that it was completed dry before I did my stamp and embossing. After a few good minutes, I did the emboss test! This is where you take your embossing powder and sprinkle it on your inked background. If the embossing powder doesn’t stick, you are good to continue! If it does cling, be sure to brush it off and then hit it with your heat gun again to ensure that its dry.
After a few heating attempts, I finally managed to dry the panel and dusted it with some anti static powder. I set it up in my Misti and inked up the stamp using Color Hive Ink Pad – Eclipse Black. This has become my new go to ink for all my blank needs! I inked it up and then sprinkled the image with clear embossing powder. Once I had the panel Inked, Powdered and then set, I placed it to the side and grabbed a white panel and did the same thing. I knew I wanted to cut down my blended panel to create a spotlight technique.
I glued my white stamped panel to a a2 card base and then cut my inked panel down. I used some foam tape to pop it up and then aligned it to match the inking on the bottom. After looking at the card, I knew it needed a little more. So I cut out a sliver of the blended background and then glued it to the left of the card to add a little more interest.
I finished the card off with a sentiment from the set and some jewels. What is your favorite color of Distress Ink?


