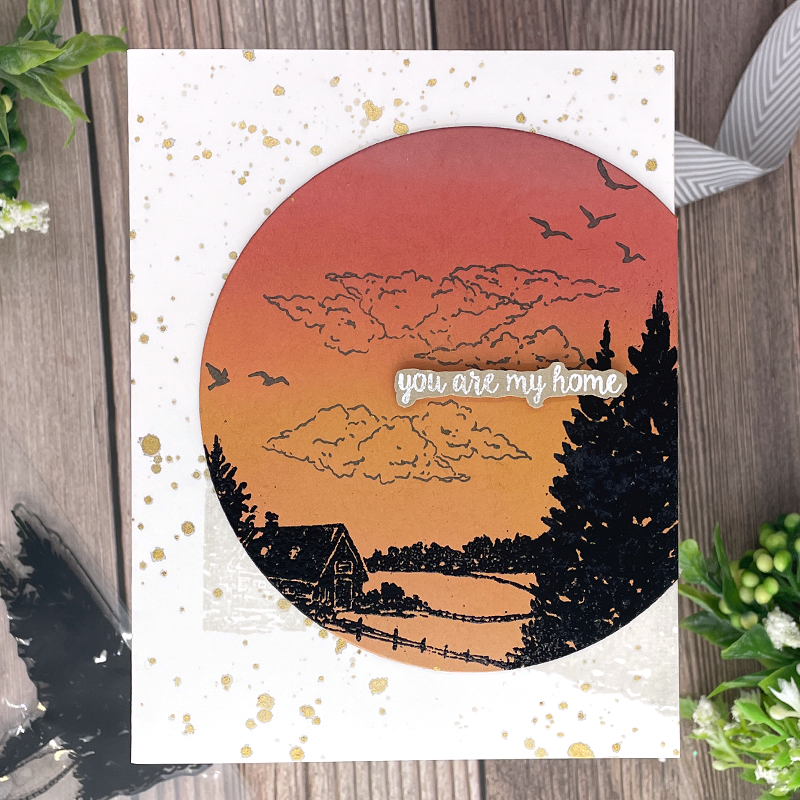
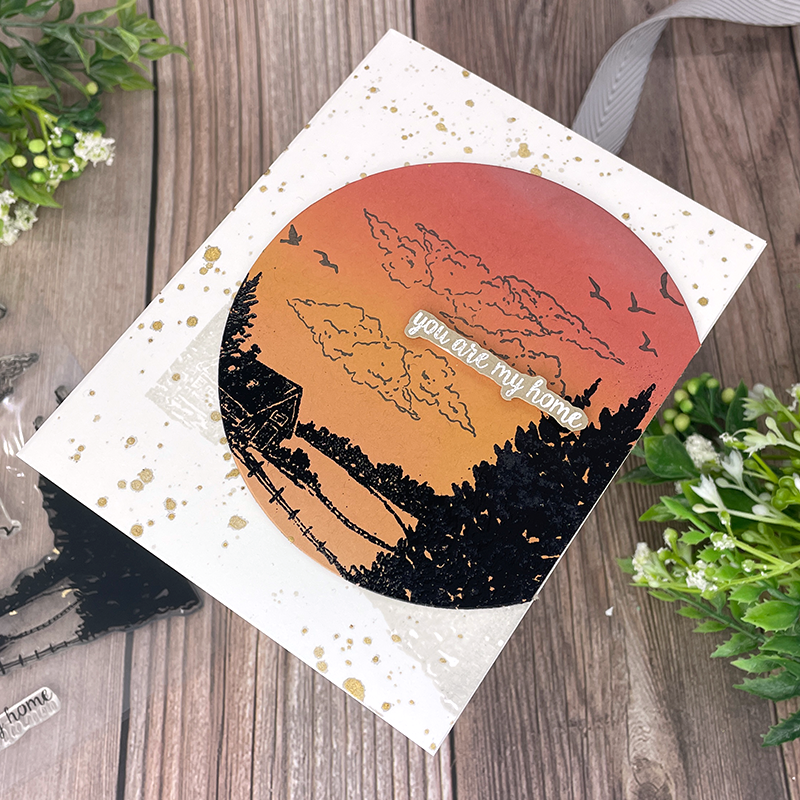
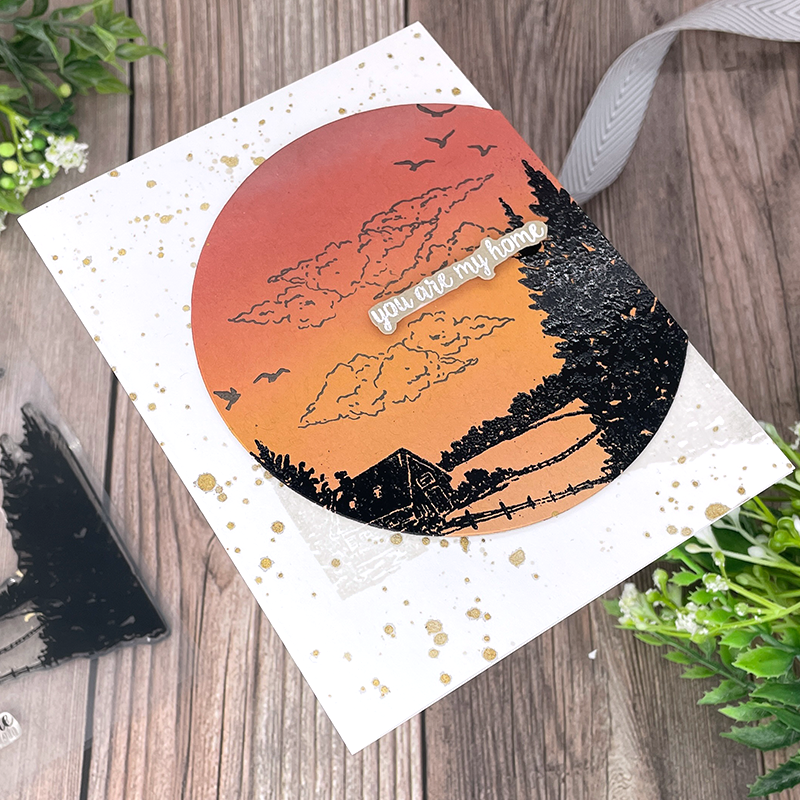
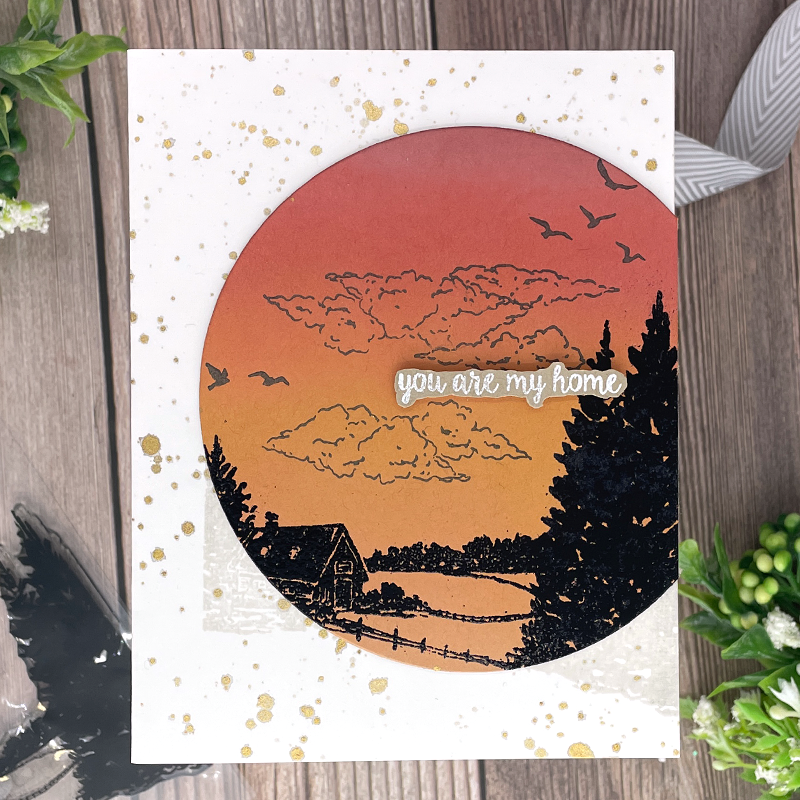
Hello Crafty Friends! I have a card for you today using the newly released using this new stamp set from Spellbinders!
Here is a list of supplies used on the card..
- Spellbinders – Create a Scene Silhouette Clear Stamp
- Gink K Amalgam ink
- Brutus Monroe Raven Embossing Powder
- Brutus Monroe Alabaster Embossing Powder
- Distress Oxide Inks – Aged Mahogany
- Distress Oxide Ink – Crackling Campfire
- Distress Oxide Ink – Wild Honey
- Distress Oxide Ink – Antique Linen
- Kraft Card stock
- Tonic Nuvo Mica Mist – Splatter
- Simon Says Stamp – Nested Circle Dies
- Simon Says Stamp – Fog Ink
- Simon Says Stamp – Large Blending Brushes
- Simon Says Stamp – Big Momma Foam Tape
- Simon Says Stamp Dot Tape Roller
- Neenah Solar White 80 lb Card stock
- Neenah Solar White 110 lb Card Stock – Card base
I started by cutting a panel of kraft card stock down to an A2 sized panel. I started with my ink blending, using my blending brushes for the appropriate color. I loved the affect of blending on kraft cardstock. It sort of mutes the colors and I love the feeling of that.
I started with Aged Mahogany at the top, and worked my way down to Crackling Campfire, wild Honey and finished with Antiqued Linen. By cutting this into a circle, I did loose most of the Aged Mahogany and the Antiqued Linen color.
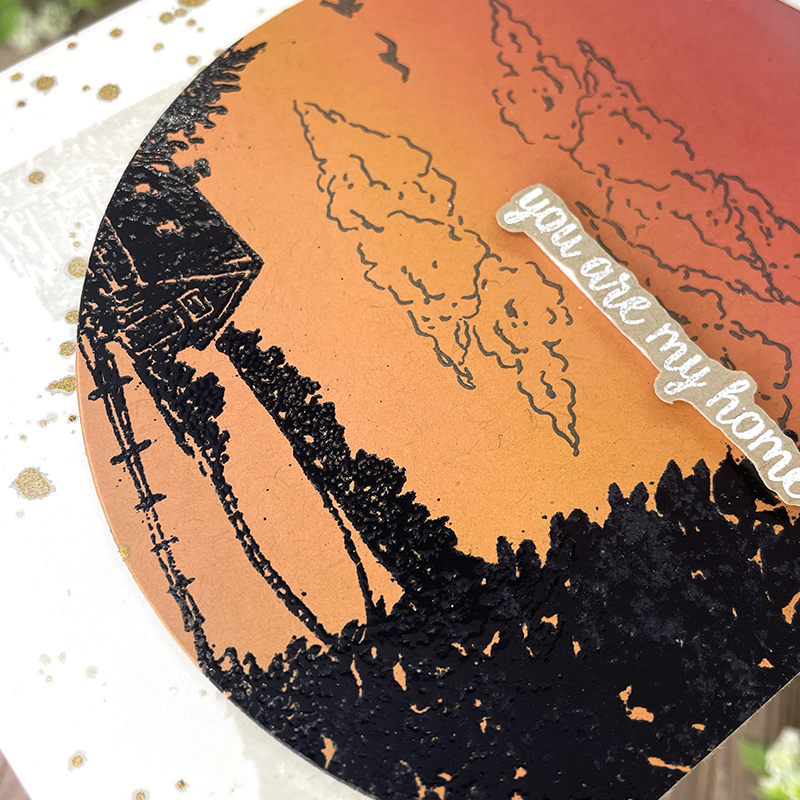
Once I was done with the blend, I grabbed the stamp set and used Gink K Amalgam ink to stamp it. I started with the largest stamp that includes the main scene, and after a few stamping attempts, I noticed that the color just wasn’t getting dark enough for me, so I stamped it one more time (after a few other times) and then sprinkled it with the Brutus Monroe Raven Embossing powder to make it dark. I liked the softness of the black before adding the powder, so I kept the clouds and birds (which are a separate stamp) with just using the black ink.
When I had my scene built, I wanted to create a spot light technique (which you can hardly tell, but in the bottom left hand of the circle you can see the ghosting). So I used a circle die and cut my panel to the circle size I wanted, making sure to hang off on the right side to give us the straight edge. This adds some interest as well as this will help in lining up the die for the spotlight technique.
I grabbed a A2 panel from my cut stash and added it to my MISTI. I then placed my circle panel with a little tape runner on the back to hold it in place. I then lined up the stamp set using the circle panel, and then when it was lined up I removed the circle and stamped the set using the Fog Ink. I splattered the white panel with Tonic Nuvo Mica Mist, added the circle with foam tape and finished it with a hand cut sentiment from the stamp set!
