
I love a good release and Simon is known for them! When my product arrived for being apart of the design family, I was shocked at the rigidity of the envelope. I was baffled. “What sort of die did they send me”, I thought. Eager, I ripped open the package to find not a die, but an EMBOSSING FOLDER! So many emotions. Excitement. Wonder. Terror (I don’t use embossing folders often). Simon hasn’t made embossing folders previously, so I was excited to be on the maiden voyage with them. The Tumbled Hexagon folder is the one I got to play with and ended up having so much fun!
Star struck, I wasn’t sure where to start. Thankfully Jennifer McGuire recently posted a video where she gave SO many great ways to use embossing folders (can be seen here……>>>). So I took a page out of the Card Making queen’s book and dove in.
Since I was new to embossing folders and my Gemini, I wasn’t sure what sandwich combo was going to work. It took me quite a while to figure it out. I could tell the embossing folder was very thick, making me think this was going to be a 3-D embossing folder. But honestly, I think its a little thicker than that. After a few trails, I found that using the magnetic shim, then the folder, topped with a clear cutting plate worked perfectly. I cut a couple sheets of Neenah classic crest 80 lb into quarters and went to my Simon inks.
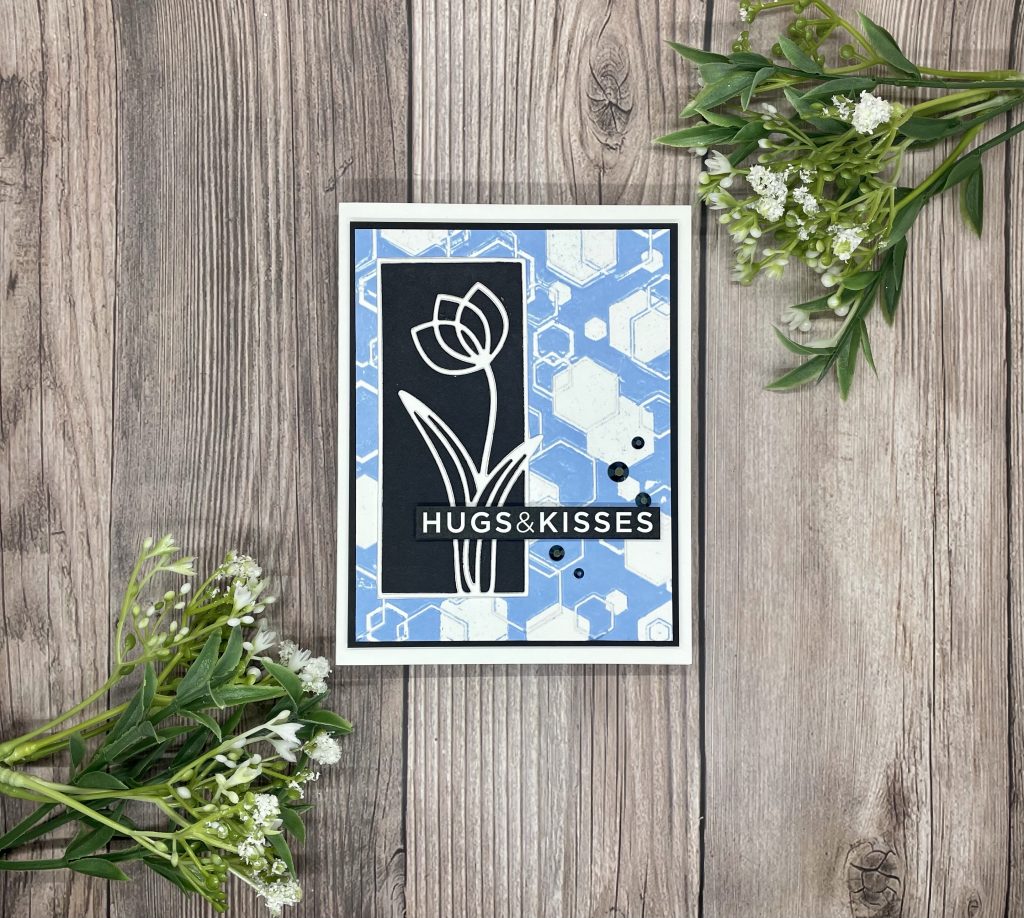
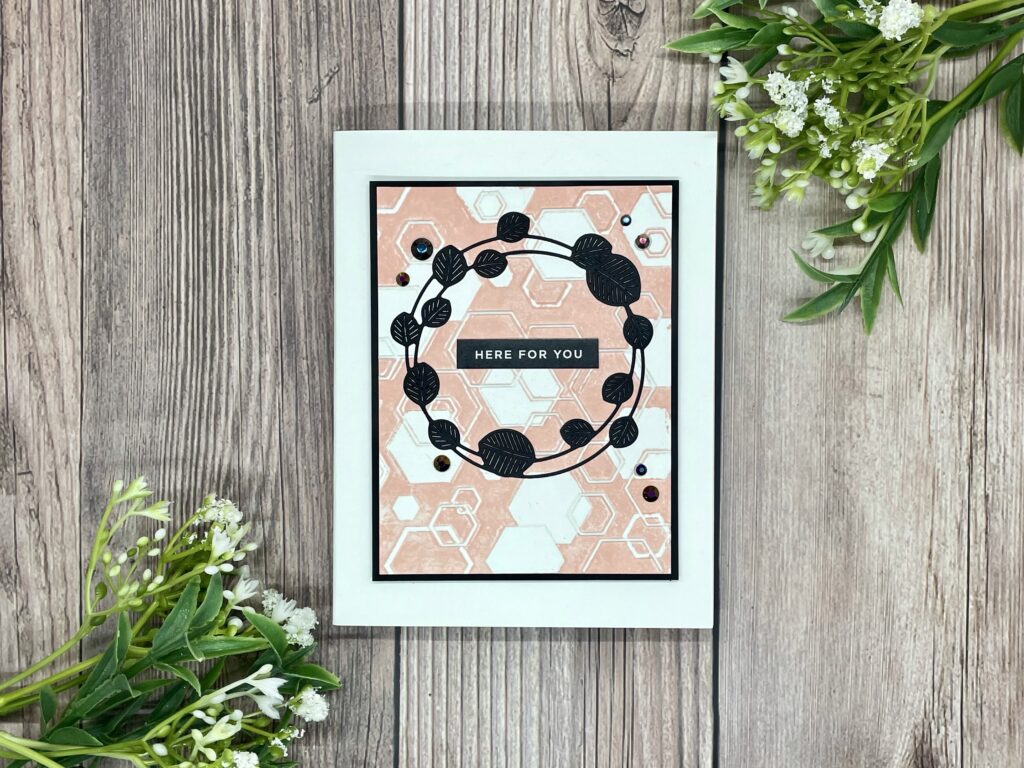
I picked many different colors of Simon Says Stamp ink to try. I started with Blue Jay ink and swiped my ink pad across the side of the folder with the most raised surface. The areas that get inked are the ones that create the valley’s when pressed. I found typically that lighter colors worked best, but I really loved the color of the Blue Jay ink. After swiping the ink, I went back through and dabbed it because I am not a fan of streaky ink and I was finding that was occurring. Then I placed a piece of paper in, created my sandwich and sent her through the Gemini.
I loved the look of running the ink across the folder and then imprinting it into the paper. I created two cards, accenting it with black card stock and jewels for a proper pop.
Have you tried this technique before? Let me know below!
Leave a Reply